For a long time I wanted to try build a blade by myself and like many other projects - the question is where to start?
Fortunately the forum has a lot of threads of many good bladebuilders who have been so kindly to share their knowledge and experience on how to approach building a blade. I would to thank those persons and I think you know who you are!
")
Being a craftsman I asked myself “How hard can it be making a table tennis blade?”.
With the high prices that popular brands have, I wanted to try replicate the DHS W968 which is one the blades I have been most happy to play with since picking up TT again.
Sourcing materials for the blade
The DHS W968 has the composition of Limba-Ayous-ALC-Ayous-ALC-Ayous-Limba.
I managed to find the materials I needed through Taobao.com (chinese ebay) and got a friend to buy and send items to me. (Thanks a lot!). I was lucky to find two type of colors of the ALC namely blue color like the BTF and white color like DHS. The material thickness’ I used are Limba(0.6mm)-Ayous(0.6mm)-ALC(0.3mm)-Ayous(3.0mm).
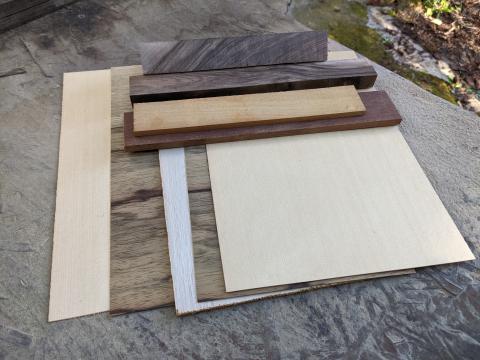
From left to right: Ayous core, ALC white, ALC blue, Limba outer ply and Ayous intermediate ply.
The process of laminating the venners and composite material is a crucial process on the playing characteristics of the blade. Choosing which type of glue and matrix for the ALC fibers is a big question itself. Some builders choose to use a D2 standard PVA glue for the wood veneers because it is easy to apply and others use hide glue to get more feel. The con’s of using hide glue it is difficult to work with due to, you have to heat the glue up to its working temperature which is around 60-65 degree celcius and the work time with the glue is rather short when applying the glue to the venners due to it tends to gel up. I used an old jam glass jar and measured 50g of granular hide glue and added some water so that the hide glue is covered. It let it soak for an hour so that the granular was fully dissolved.
The matrix glue is a epoxy with resin and hardner which is mixed in a ratio of 1:2.
NB: Don’t use colored plastic bags as protection. The color will come off the bag and on to your blade!
I decided to use the same production method as TTD member bobplus (Robert) did, using a router on a table with a flush router bit to cut and for the blade and handle and a 9.5mm rounding router bit for the handle both with bearings that can run along the template when cutting. You can find bobplus’ videos on his thread
https://www.tabletennisdaily.com/forum/showthread.php?11808-Create-your-own-blade
Instead of buying a table for the router I made a DYI table for the job.
It’s basically a 18mm hobby table plate where I use the plane plate of the router as a template to drill the holes for the screws holding the router and afterwards when the router is mounted on the table I drilled the center hole with a large router bit.
Here is a video of how it is done. Sorry for the loong unorganized video.
To make a similar blade as the DHS W968 I needed a template to cut out a blade with an identical size. I started out with designing a template from a free hand sketch where I made points as function of the length so I could make the template in a 3D CAD program. I got a local workshop to make the template for me with their laser cutter and the result was almost identical to the W968. The wings were a bit off, but not something a bit of grinding could correct. I was not quite satisfied with the laser cutted template so I decided to take one of the handle cups off my W968 to cut a new template of the blade and my findings was that the W968 is a WRB blade. Also I needed a template to make the flared handle template that would fit the my custom blade. So it was like a win/win situation.
Cutting the new template.
Finished cutting my first blade.
Laser cutted and router cutted templates on top of each other.
Routing the blade is a bit tricky. I experienced that it’s really important to have some router bits that are good and sharp otherwise you will rip of big pieces of the laminate when routing. Perhaps purchasing a router bit that is specified to cut carbon is necessary due to it creates a lot of heat and might burn the blade when cutting. The result of burning the blade will end up in delaminating the blade which isn’t ideal.
BE CAREFUL WHEN USING ROUTING AND REMEMBER TO TAKE YOUR
PRECAUTIONS! BETTER SAFE THAN SORRY!
Blue ALC
White ALC
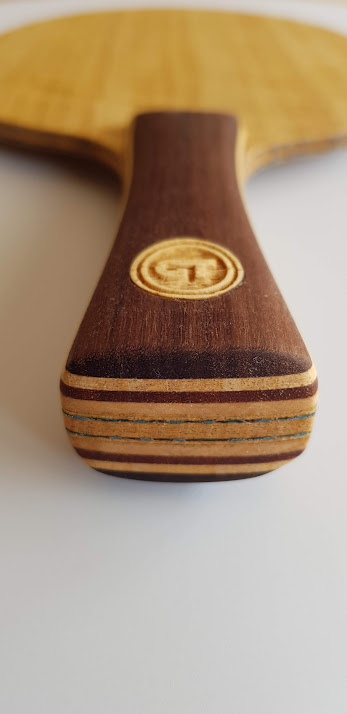
The handle is made of (starting from the top) Walnut, Ayous, Mahogany and Lime.
As I mentioned earlier I used a flush and after a 9.5mm rounding bit to do the job.
The picture is showing I had an accident with the first handle I’ve made. Again be CAREFUL!
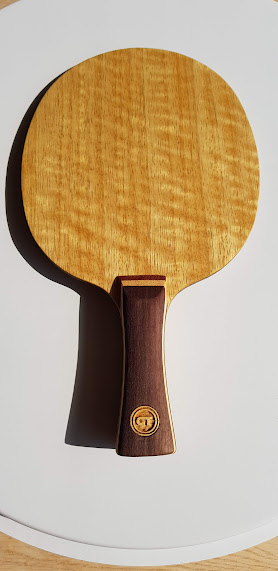
I hired a friend from the from the forum to make me my own logo for the handle. You might guess where the the logo is from.
The logo has a diameter of 16mm and I used a forstner drill bit to make a perfect round hole for the inlay logo. It’s made of ayous.
Before giving the last finish with wood oil it just wanted to have some pictures of the blade.
As you can see the epoxy has bled through the top layer and the color is from the bags I had underneath. The oil I have used is from Guardian and it's a natural product for hardwoods like teak, walnut etc. Dry time is approx. 3 hours and it is fully hardened in 24 hours.
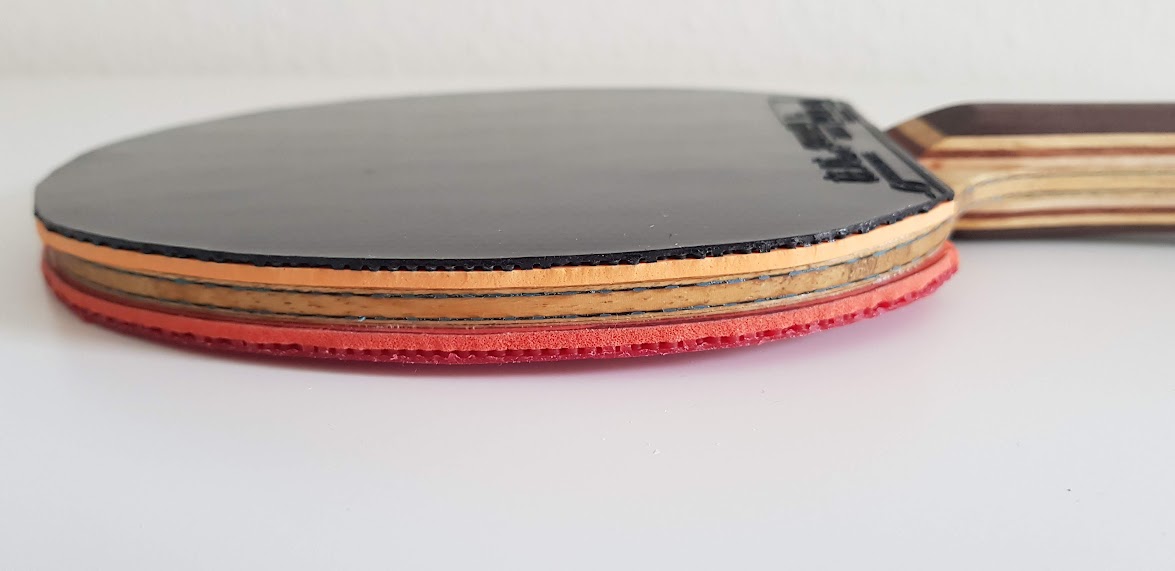
Here is the final result - setup weight 208g with rubbers!